
This article will provide a detailed tutorial on using Clash Verge, including how to import basic subscription links and some special features. Clash Verge is currently one of the most popular Clash proxy clients, with a simple, user-friendly interface and powerful proxy features.
Download and Installation
Clash Verge supports major desktop platforms, with versions available for Windows, macOS, and Linux. You can find the latest download link on the homepage.
Important Notes:
- Windows version requires WebView2 to run. If it’s not installed yet, you can download the WebView2 installer from Microsoft’s website. Alternatively, you can choose the version of Clash Verge that includes WebView2, although the installer will be larger.
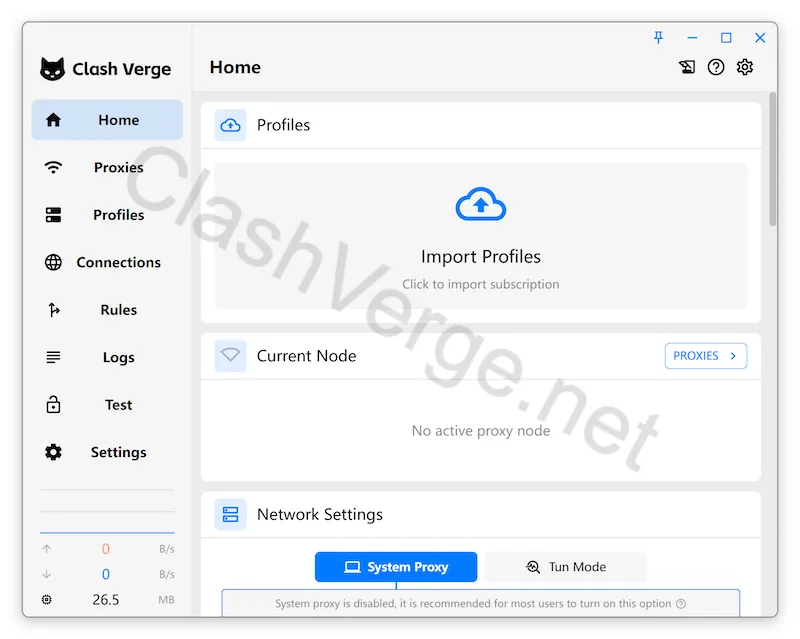
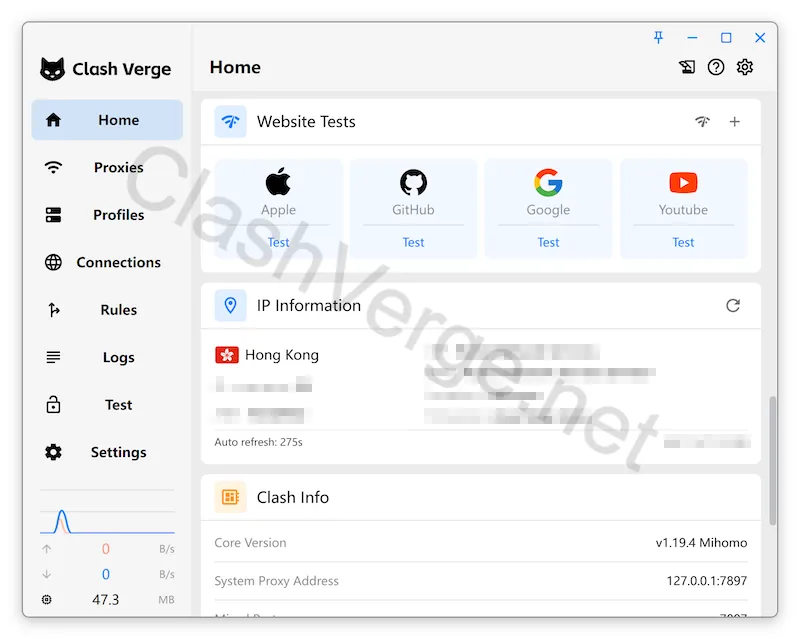
Once installed and opened, you should see the following interface:

Adding Subscriptions
After launching the software, the first thing you need to do is import your subscription. On the homepage, there’s an “Import Subscription” button. You can also click the “Subscription” menu on the left, where you’ll see the subscription list is initially empty. Clicking the top right “New” button or “Import Profiles” on the homepage will open the subscription setup page.

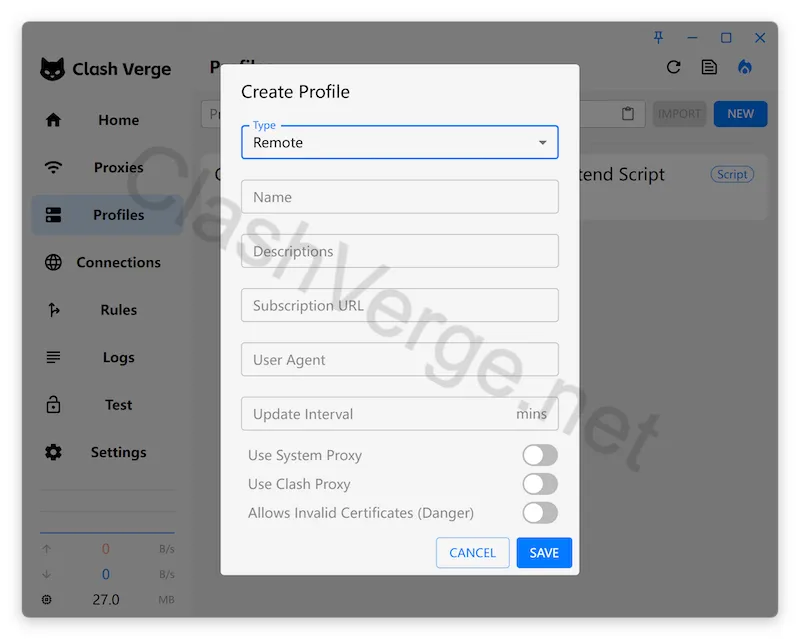
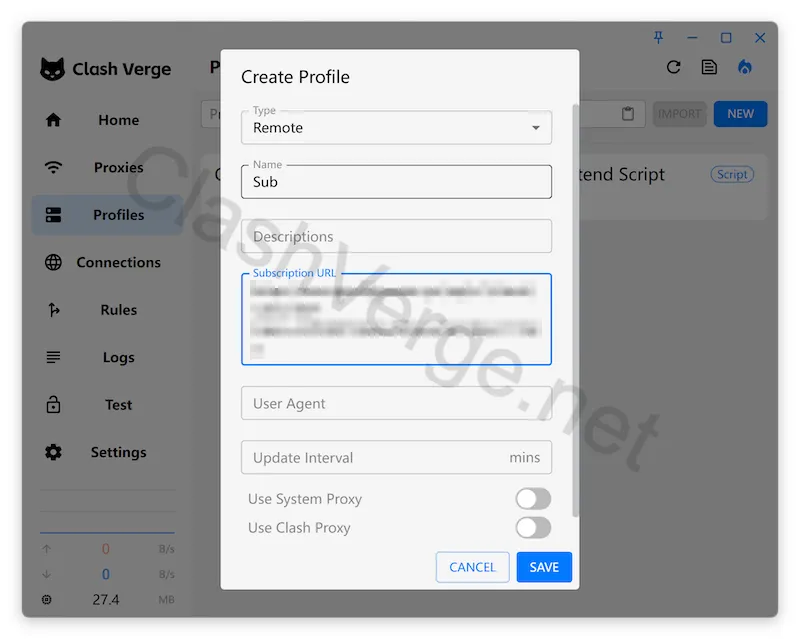
In the “Create Profile” window, fill in a name and paste your subscription link, then click save. Other options are optional — for example, setting an update interval will enable automatic updates for the subscription. If your subscription link is blocked, you can check the options to use the system proxy or core proxy for updates.
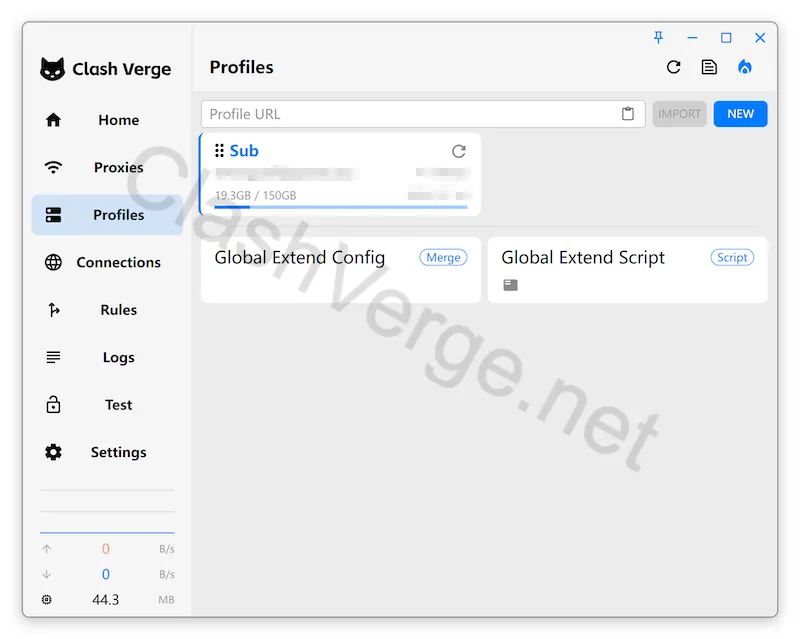
After adding successfully, you will see the subscription listed. By default, the current subscription is selected automatically. If not, or if you have multiple subscriptions, you can manually select one by clicking it.
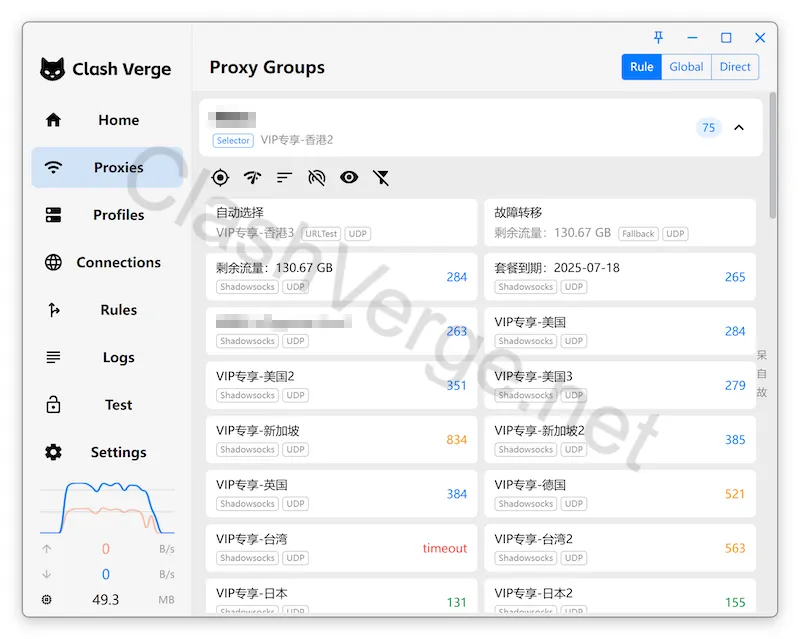
Choosing a Proxy
Once the subscription is imported, click “Proxies” on the left menu to view all proxy nodes from your subscription. By default, the software will speed-test all nodes and automatically select the one with the lowest latency. (Speed testing is for reference only and can have some randomness.) You can also click the Wi-Fi icon on the top left to retest, and manually select a preferred node.
Enabling System Proxy
After selecting a proxy, you can enable the system proxy to start using the internet through it.
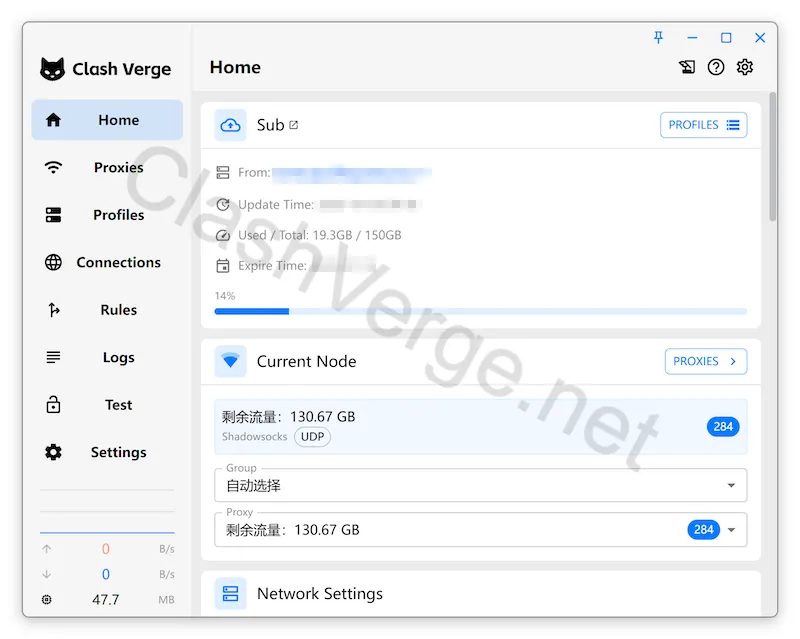
Go back to the homepage, where you can see the current settings, including subscription details and the selected proxy node.
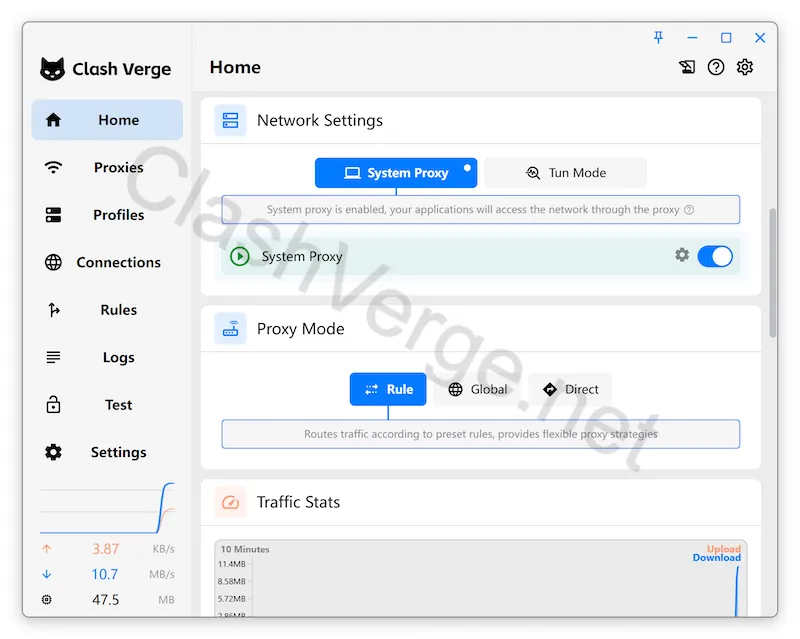
On the homepage, there are many quick settings. Scroll down to find the “Network Settings” section. We recommend enabling the “System Proxy” option. Once enabled, other apps (like browsers) will use the proxy automatically. If some software cannot use the proxy, you can enable the Tun Mode to force all network traffic to go through the software, offering a better proxy experience.
There are three proxy modes:
- Rule Mode: Only traffic that matches specific rules will go through the proxy. Domestic (local) traffic remains direct and unaffected.
- Global Mode: All network traffic, including domestic traffic, is proxied.
- Direct Mode: No traffic is proxied.
At this point, the basic setup of Clash Verge is complete. There are also many other features and settings available, which we’ll cover below.
More Features
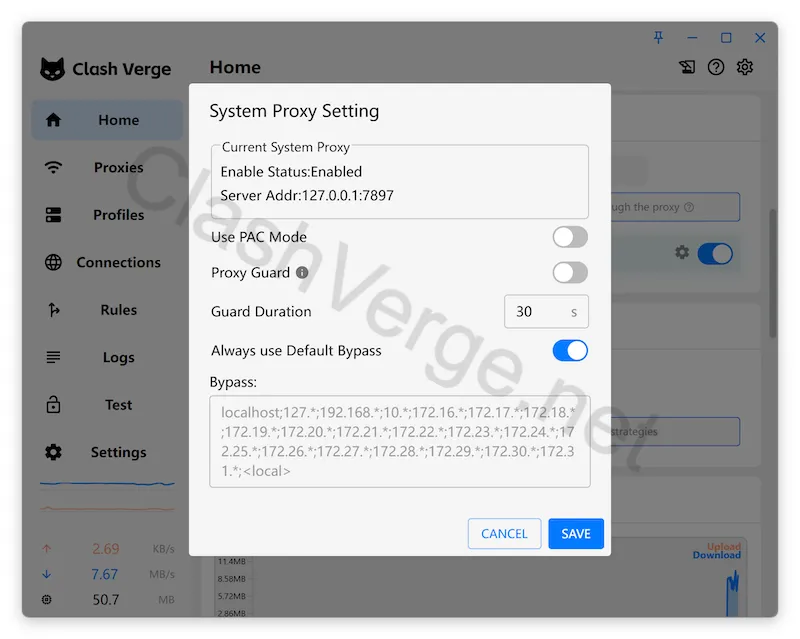
System Proxy Guard
Sometimes the system proxy can be modified by other software, causing the proxy to stop working. Clash Verge has a “Proxy Guard” feature to ensure the proxy settings are not tampered with. Next to the system proxy toggle on the homepage, there’s a settings icon. Click it to open the “System Proxy Settings” menu, where you can enable the guard and set the check interval. Remember to save after enabling.
Proxy Testing
Clash Verge offers convenient testing tools to check if your proxy is working correctly and can unlock specific services.
On the home page, you can quickly test access to common websites like Google, YouTube, and GitHub. If the proxy is working, these sites should load successfully.
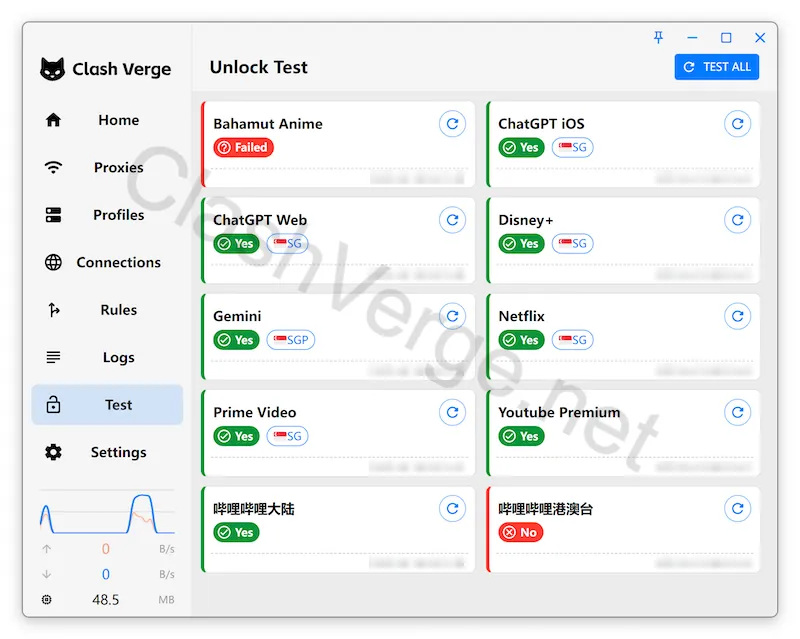
By clicking the “Test” menu on the left, you can also perform unlock tests on specific services. This includes common AI models (like ChatGPT and Gemini) and streaming services (like Netflix, Disney+, and YouTube Premium).
Proxy Rule Editing
Clash Verge provides powerful rule editing capabilities, allowing you to customize proxy rules according to your needs.
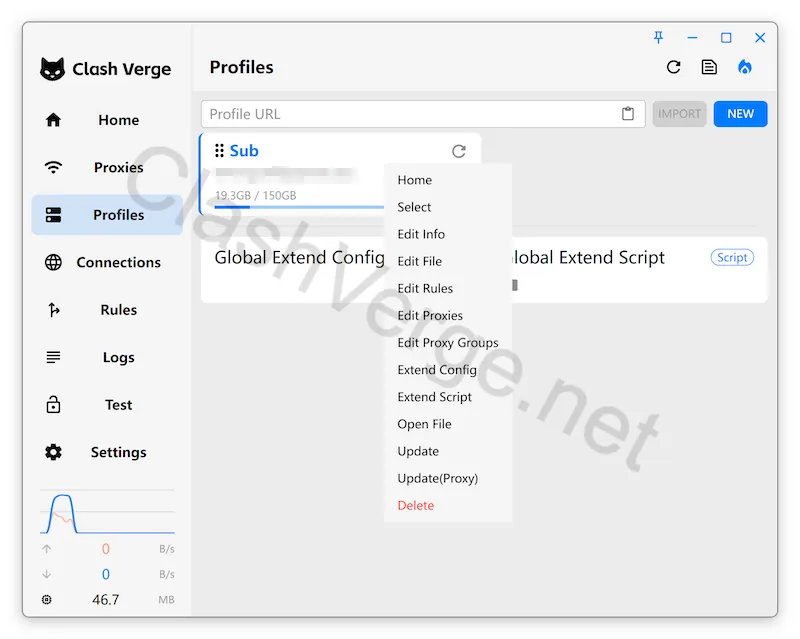
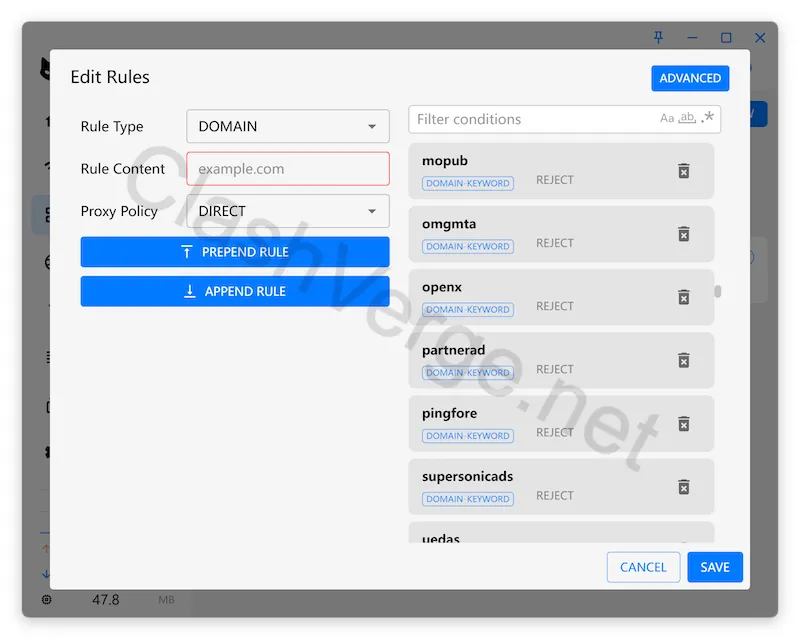
In the left menu, select your subscription, then right-click on the active subscription and choose “Edit Rules.” A rule editing window will pop up. You can delete existing rules or add new ones as needed.
Other Settings
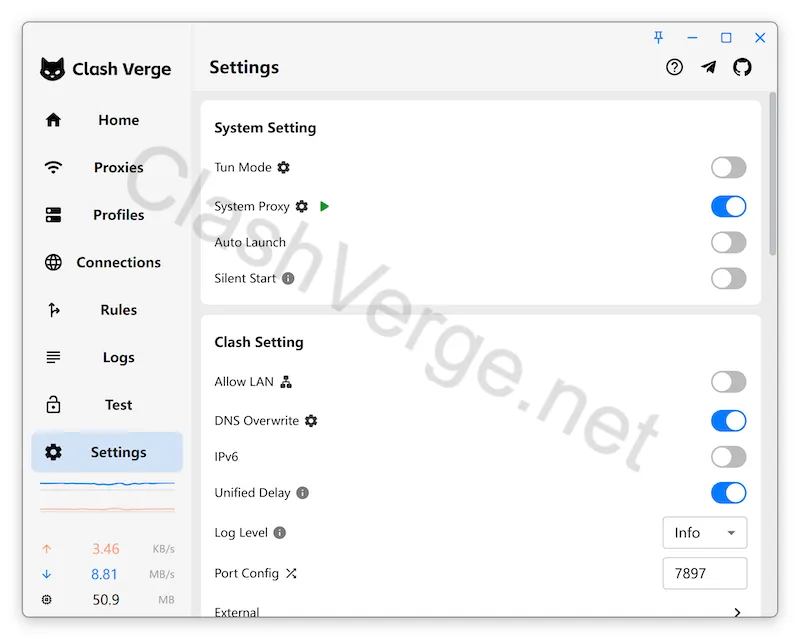
Click on “Settings” from the left menu to see more configuration options.
Available settings include:
- System Proxy Settings
- Tun Mode Settings
- Auto Launch Settings
- Clash Port Settings
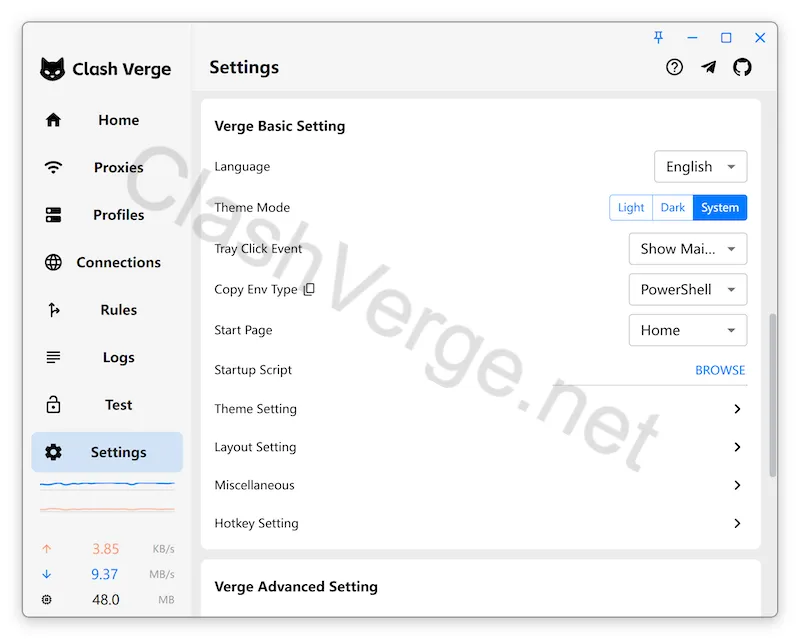
- Language Settings
- Theme Settings
- Other Advanced Settings
Conclusion
With this tutorial, you should be able to easily set up your network proxy and configure some advanced features. Overall, Clash Verge is a very simple and user-friendly proxy software, offering a powerful and smooth experience for users.